Tired of flat and featureless videos? Want to spice up your CapCut edits by learning to zoom like a pro? Do not search anymore ! In this comprehensive guide, discover simple and advanced techniques to master the art of zooming on CapCut. Whether you are a novice or an expert, here you will find all the tips to energize your videos and captivate your audience. No more boring videos, make way for captivating and lively sequences! So, are you ready to rock your creations? Let's zoom in on CapCut!
In summary :
- Press the keyframe button to begin your zoom in CapCut.
- Pinch to zoom and create a new keyframe for zooming.
- Zoomy is an app specially designed to add a zooming motion to videos, ideal for standing out on Instagram.
- CapCut lets you create progressive zoom effects to bring your videos to life.
- Use the video zoom effect in CapCut for dynamic edits.
- Follow online tutorials to learn how to easily zoom in and out on CapCut.
Table of contents
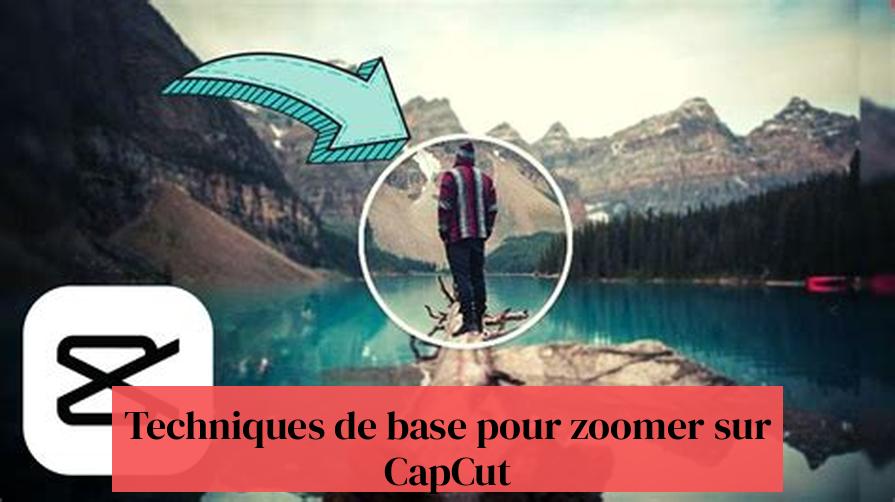
Basic Techniques for Zooming in CapCut
Zoom is a powerful tool that can add dynamism and emphasis to your videos. CapCut, the popular video editing app, offers several options for creating captivating zoom effects. But where to start ?
This guide will walk you through the basic techniques for zooming in CapCut, whether you're using the mobile app or the desktop version.
1. Zoom with keyframes
This is the most common method for zooming on CapCut, and for good reason! It offers great flexibility and precise control over your zooms.
Let's take things step by step:
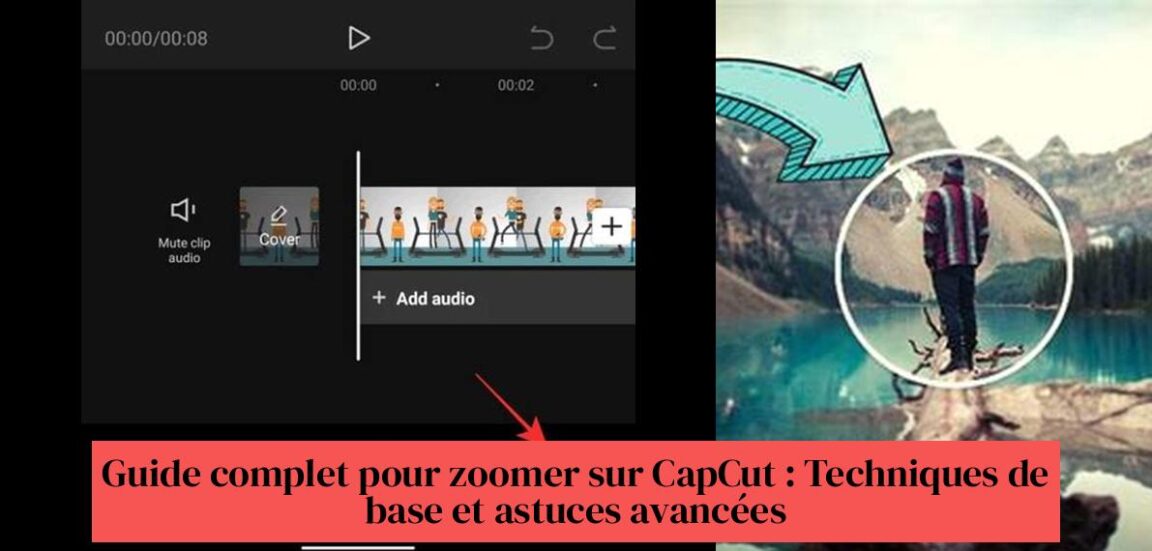
- Add your video to the CapCut timeline. This is your playground, the place where the magic happens.
- Press the “Keyframe” button to signal CapCut that you want to start manipulating the zoom. It's like planting a flag to mark the start of your effect.
- Advance the playhead at the precise location where you want the zoom to occur. Be specific, because every detail counts!
- Pinch the screen to zoom on the area that deserves to be highlighted. A simple and intuitive gesture that allows you to visualize the result in real time. This action will automatically create a new keyframe, a landmark for your zoom.
- Adjust the zoom duration by moving keyframes on the timeline. You can create a fast, impactful zoom or a slow, gradual zoom, depending on the desired effect.
- Preview your video and adjust the zoom if necessary. Don't hesitate to tweak your creation until you get the perfect result.
And to go even further, here are some expert tips:
- Use multiple keyframes to create a gradual zoom effect. This will make your video look more dynamic and professional. Imagine a zoom that starts slowly, then speeds up to focus attention on a key element, before slowing down again to return to the big picture.
- For even smoother zooming, use the “Speed Curve” feature to adjust the zoom speed between keyframes. You can create subtle accelerations and decelerations that will make your zooms even more captivating.
With a little practice and these few tips, you will be able to create professional-looking zooms on CapCut.
2. Zoom with the “Zoomy” effect
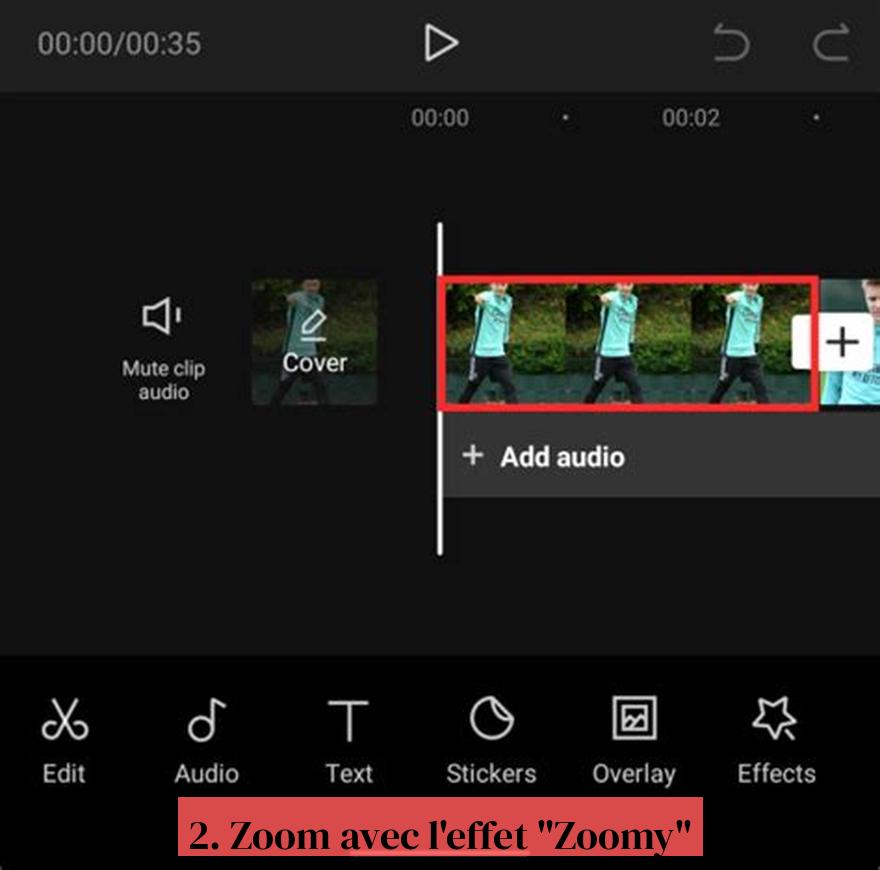
CapCut offers a built-in effect called “Zoomy” that simplifies the zooming process. This is an ideal option for those looking to achieve a quick and effective zoom effect without delving into the intricacies of keyframing.
Here's how to use it:
- Select your video on the timeline. This is the basis of any editing on CapCut, make sure the video you want to zoom in is selected.
- Tap “Effects” then “Video Effects”. CapCut offers a multitude of effects, but for zooming, focus on the "Video Effects" section.
- Find the “Zoomy” effect and tap it. The search bar is your friend, use it to quickly find the “Zoomy” effect among the multitude of options available.
- Adjust the effect parameters, such as zoom duration and zoom level. This is where you can customize the effect. Experiment with zoom duration and intensity to achieve the desired result.
- Preview your video and adjust the settings if necessary. Previewing is essential to ensure the zoom is to your liking. Feel free to tweak the settings until you get the perfect effect.
The “Zoomy” effect is a great way to quickly create a simple zoom effect. It's perfect for quick edits or for those just starting out with CapCut. However, it offers less control than the keyframe method, which allows you to create more precise and personalized zooms.
If you're looking for complete control over your zoom, the keyframe method is the ideal solution. But if you want a quick and easy zoom effect, “Zoomy” is your ally.
Remember that the choice of method depends on your needs and preferences. Experiment with both techniques to discover which one best suits your editing style and the effect you want to achieve.
Advanced techniques for zooming in CapCut
1. Progressive zoom
A gradual zoom is a zoom effect that starts slowly and gradually speeds up.
To create a progressive zoom on CapCut:
- Use the keyframe method to create multiple zoom points.
- Adjust the speed curve of each keyframe to create a speed-up effect.
- Experiment with different settings to achieve the desired gradual zoom effect.
2. Selective zoom
Selective zoom allows you to zoom in on a specific area of your video.
To create a selective zoom on CapCut:
To discover: How to Zoom in CapCut: Tips and Techniques for Captivating Zoom Effects
Associated researches - How to create a GIF with CapCut: Complete Guide and Practical Tips
- Use the “Mask” tool to create a zoom area.
- Apply the zoom effect to the hidden area.
- Adjust mask and zoom settings to achieve the desired effect.
Tips for Zooming CapCut Like a Pro
- Use zoom sparingly. Too much zoom can make your video choppy and distracting.
- Zoom in on points of interest. Use zoom to draw the viewer's attention to important elements of your video.
- Combine zoom with other effects. Combine zoom with motion effects, transitions and music to create even more dynamic videos.
- Get inspired by other designers. Watch videos that use zoom in creative ways and try to replicate these techniques.
By following these tips and experimenting with CapCut's different zoom options, you can create captivating, professional videos that will stand out.
How to zoom in CapCut?
The most common way to zoom in CapCut is to use keyframes. You can also use the built-in “Zoomy” effect to simplify the zooming process.
How to zoom with keyframes on CapCut?
To keyframe zoom on CapCut, add your video to the timeline, tap the “Keyframe” button, advance the playhead to where you want to zoom, pinch the screen to zoom in on the area desired, and adjust the zoom duration by moving the keyframes on the timeline.
What is the “Zoomy” effect on CapCut?
The “Zoomy” effect on CapCut is a built-in effect that simplifies the zooming process. It lets you adjust settings like zoom duration and zoom level to create captivating effects.
How to create a progressive zoom effect on CapCut?
To create a gradual zoom effect on CapCut, you can use multiple keyframes with the "Speed Curve" feature to adjust the zoom speed between keyframes, or use the "Zoomy" effect for smooth zooming.
What tutorials are available to learn how to zoom on CapCut?
You can find online tutorials on platforms such as YouTube to learn how to zoom on CapCut, including tutorials on gradual zooming, using the "Zoomy" effect, and other advanced zooming techniques.